

Blog
How to replace your cabinet doors

Replacing the doors is the cheapest way to change a kitchen that is otherwise sound. The boxes stay, the plumbing stays, the worktop stays, and the thing everybody actually looks at is new.
It is also a job with one expensive step. Everything here is recoverable except ordering the wrong size, because doors cut to a dimension you typed are made for you and cannot go back on a shelf. So this walks the order the decisions actually need making in — which is not the order most people reach for.
Step 1: work out what you already have
Before any measuring, settle whether your doors sit over the face frame or inside it, and if they sit over it, how far. That is the overlay, and it decides every size you are about to write down.
You can read it in about thirty seconds standing in your own kitchen, and full overlay, partial overlay or inset shows how. Do this first. Measuring before you know the overlay produces a set of numbers you then have to throw away.
Step 2: decide whether the hinges are staying
This is the fork that changes the rest of the job.
- Keeping the existing hinges and holes. Cheapest and quickest, and it constrains the door — the boring pattern is already decided, and so, usually, is the overlay. New doors into existing hinge holes covers what you can and cannot change.
- New hinges. Frees the overlay and lets you change the look more. More work on site, and the old holes have to go somewhere — on a painted kitchen that is filler, on a stained one it is a visible repair.
If you are not sure what you have, the hinge overlay size chart lets you identify the hinge and read the overlay off it.
Step 3: measure every opening
Not one of each size. Every opening. A run of four that was built identical in 1998 is frequently not identical now, and a sixteenth of an inch is enough to show.
How to measure for replacement cabinet doors is the step-by-step, including the conversion from opening size to finished door size once you know your overlay. Two things from it worth repeating here: write the numbers on a sheet with the cabinet marked, not on the back of a hand, and decide your reveal deliberately — the gap between doors explains what it does to the look.
Step 4: choose the style and the species
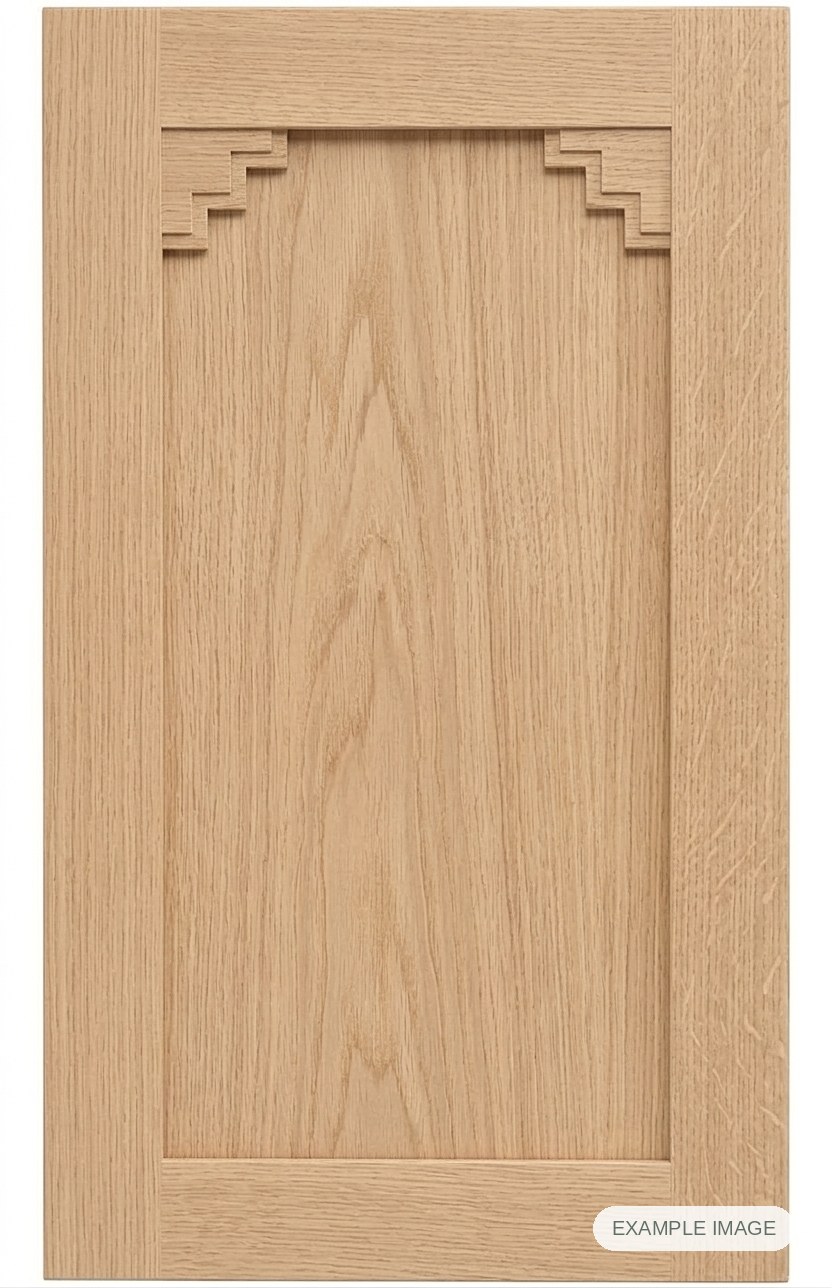
With sizes settled, this is the enjoyable part and the one with no wrong answer. Shaker suits almost any kitchen built since the 1990s. Inset panel keeps the centre flat and recessed. Raised panel is the shaped, traditional figure. Thermal foil (RTF) arrives finished in a colour, with no spraying and no cure time — the RTF guide is honest about where it is the wrong call, which is heat.
Species matters more than people expect if you are staining rather than painting, because the grain is the finish. If that is the decision you are stuck on, order a sample and put it in the room. Photographs on a screen are not a reliable guide to how oak looks under your own lights.
Step 5: specify the rest
The order form asks a handful of things beyond size and style, and what to specify when ordering covers each. The ones people miss: boring or unbored, slab or five-piece drawer fronts, which panel material on a paint-grade door, and the flat parts — end panels, fillers, toe kick — which need to come in the same species and the same order.
Step 6: order, and plan the gap
Doors are made to order, so there is a lead time rather than a shelf. Published lead times are the planning number, and the useful habit is to not take the old doors off until the new ones are in the house and checked. A kitchen with no doors is a bad place to discover a measurement.
When they arrive, count them against your own sheet and measure a sample from each size before anything goes on a hinge. Flag a discrepancy straight away and in writing.
Step 7: hang them
Hang the hardest one first — the tallest door, or the one beside an appliance where the reveal has least room to hide. If that one works, the rest will. Adjust the whole run before you call any of it finished: hinges adjust in three directions and the reveal you are chasing is a line across the kitchen, not a gap on one door.
If it turns out to be more than doors
If the boxes are soft, the layout is wrong, or the carcases are chipboard that has swelled at the base, doors are the wrong spend. Refacing versus replacing separates the three jobs honestly, including when none of them is the answer.
Otherwise: everything is cut to your sizes in 1/16" increments, there is no minimum order, and it carries a limited lifetime warranty. Start with the door range, or ask us if a step here does not fit your kitchen.